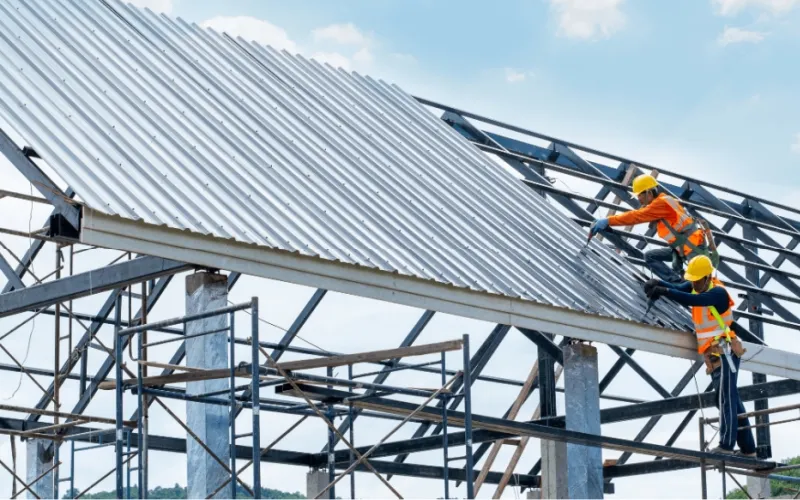
How to Install Corrugated Stainless Steel Sheets?
Installing stainless steel roofing sheets on your home or other applications can be lengthy and complicated, so planning and preparing in advance is important. Generally, the stainless corrugated panels installation process of roofing renovation typically involves the following steps:
1. Tools & Materials Preparation
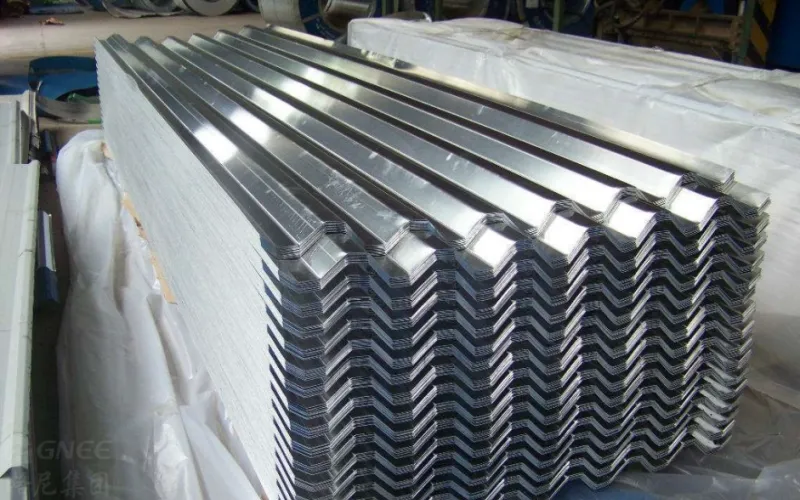
It is important to understand the materials and tools needed to select and install the stainless roofing sheets for your projects. You will need these key materials and tools to complete the installation. They include stainless steel corrugated sheets, roofing nails, roofing felt, roofing screws, nuts, and roofing sealant. Additionally, you may need a ladder, electric drills, and electric hammers. All these tools and materials must be of high quality to ensure a successful and safe installation.
2. Measurement
Measuring the size of your roof’s area. You can use a ladder and a tape measure to note your roof’s width (horizontal) and length (from the peak to the lowest point). The measuring result can be used to determine the area and determine how many corrugated stainless steel sheets are needed. Make sure to measure accurately to avoid wasting material. You can use the following guide rules to know how many stainless roofing panels are needed:
Measure the width of the roof. Divide the number by the average width of a metal sheet to get the number of rows of metal sheets you will need. Measure the length of the roof slopes. Divide this number by 6 to find out how many columns of metal sheet you will need. To get the number of corrugated panels needed, multiply the number of rows by the number of columns.
3. Cutting
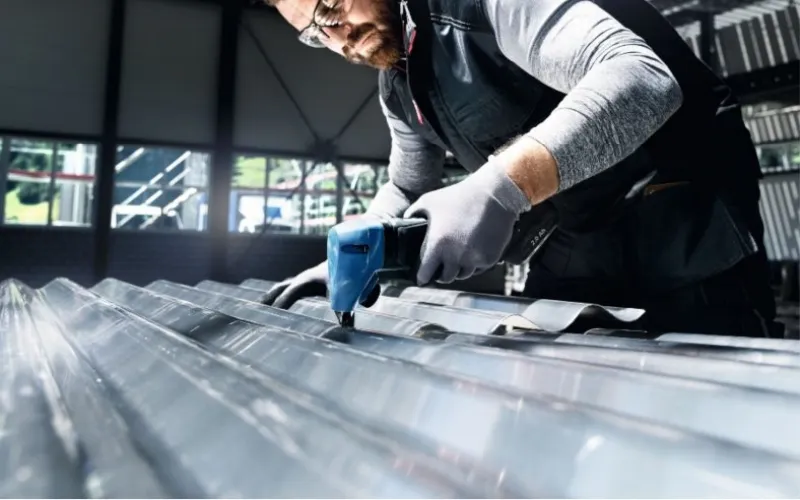
Cut the panels to the desired length. After knowing the size, you can use an angle grinder to trim the corrugated panels to size if it doesn’t fit well.
Cutting tools include:
Angle grinder: the fastest option. Wear hearing and eye protection when cutting. Paint or prime cut edges to prevent rust.
Circular saw: slower than an angle grinder, but follow the same instructions. Use a metal blade and expect it to wear quickly.
Nibbler: effective if rated for the right metal and gauge.
Tin snips: slow but safe. Wear work gloves and find the longest pair you can.
4. Drilling
Before installing the sheets, pre-drill holes along the edges of the sheets and at regular intervals across the surface. This will allow for proper fastening and prevent the sheets from warping or buckling. They are: use a 3⁄16 in (4.8 mm) drill bit, and space the holes every 6 to 8 in (15 to 20 cm) horizontally and every 2 ft (0.61 m) vertically, drilling on the nearest ridge. In addition, space the lowest row of holes on what will be the lowest panels 6 in (15 cm) from the bottom of the panel.
5. Installing Underlayment
Lay down your underlayment. Underlayment acts as a protective layer, helping to prevent water leakages and structure insulation. Install the underlayment to your roof deck before the roofing sheets are attached. They are:
Simply roll it out horizontally, adhesive-side down, starting at the eaves of the roof. Overhang it by 2–3 in (5.1–7.6 cm) and overlap each strip by 1–2 in (2.5–5.1 cm). If your underlayment doesn’t have an adhesive, nail or staple your underlayment to the structure of the roof.

6. Installing Sheets
Before installing, ensure that the surface where the sheets should be clean, dry, and free from any debris or contaminants. This will help ensure proper adhesion and prevent any issues later on. When installing, you should:
Start at the lowest rows of the roof and work your way to the peak.
Apply a suitable adhesive or sealant to the back of the stainless steel roofing sheets. This helps to create a strong bond between the sheets and the surface of the roofing and prevents water or moisture from seeping through the gaps. Follow the manufacturer’s instructions for the specific adhesive or sealant being used.
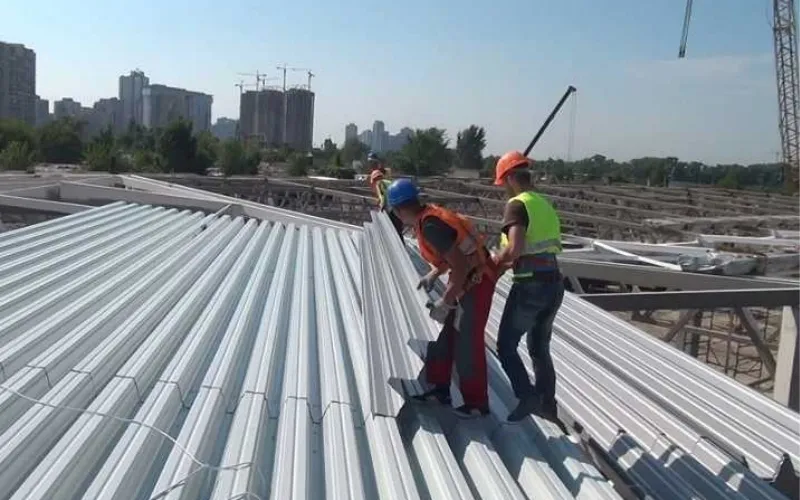
Once the first row is complete, begin the second row, overlapping each row by about 3–4 in (7.6–10.2 cm), and secure the holes with nails or screws to guarantee the flatness of the entire ceiling. Continue in this way until the entire roof is covered by the corrugated panels.
7. Examining
Finishing touches: once these sheets are securely installed, inspect the installation for any gaps, loose screws, or other issues. Make any necessary adjustments or repairs to ensure a proper and secure installation.
Besides, according to needs, decorative strips can be added on the edge of the corrugated stainless steel plate to increase the aesthetics.
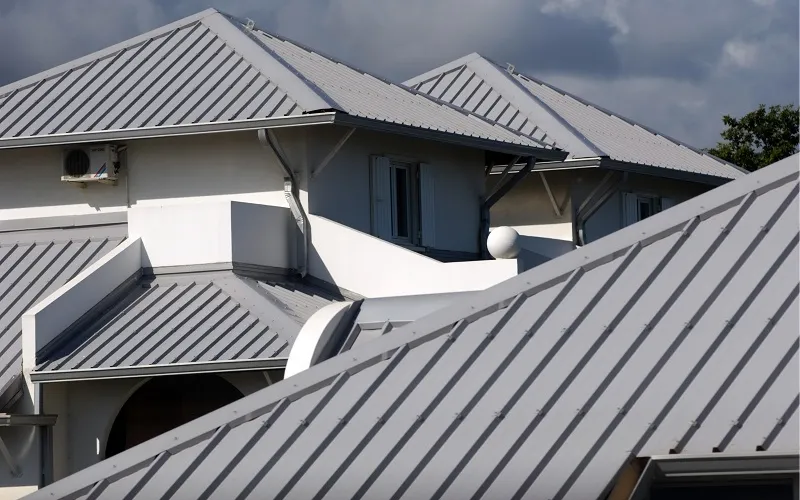
Things To Note When Installing Corrugated Stainless Steel Sheets
Here are some necessary tips you need to pay attention to to avoid hurt.
1. Installers must be certified professionals.
2. Installers need to prepare necessary safety facilities (such as gloves, hard hats, safety belts, and other tools).
3. The frame must be firm when installed.
4. When the installation requires walking on the sheet, try to step on the middle of the sheet and avoid stepping on the edge of it.
5. Corrugated stainless steel sheets are generally light in weight and are greatly affected by the wind, so they must be firmly fixed during installation.
6. Installation must be done with caution in bad weather.
The advice within this installation guide is of a limited nature and should only be used as a guide. It cannot be relied upon as an exact instruction on how a roof should be safely installed which will vary with circumstances, manufacturer’s recommendations, and the specific application. Always refer to the manufacturer’s instructions and guidelines for the best results.

High-quality Stainless Steel Corrugated Metal for Sale
At Gnee Steel, we keep various types of corrugated metal sheets in stock. Whether you’re looking for a couple of sheets of corrugated stainless steel to finish off a DIY project, or you need a bulk order to tackle a full-scale construction project, we have a huge stock of panels as well as the ability to fabricate customization orders with minimal lead times. In addition, we have a skilled team of customer service advisors who will be happy to assist you with any installation queries you have. They can help you calculate sizes, choose the ideal pattern, gauge, dimension, and substrate, and get you the perfect order in time for your next job. Pls feel free to contact us now!


